Skip to content
Steps to Verify Hadoop/Elasticsearch/ActiveMQ/Cassandra Installation in One Box Setup VM
Hadoop Installation
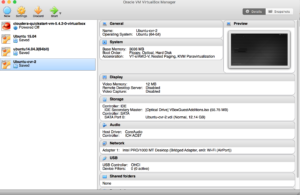
- Start Virtual Box, choose the machine you prepared in earlier step and click on the “Start” button ( green colour ).
- Please login as user Hadoop ( user id hduser), if asked for please enter password ‘abcd1234’

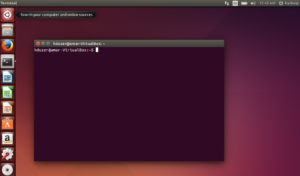
- Click on the Ubuntu on the top-left corner and look for terminal and click on the terminal

- Once the terminal is up and running it should look similar to following –
- Go to home directory and take a look on the directory presents
- cd /home/hduser
- ‘pwd’ command should show path as ‘/home/hduser’.
- execute ‘ls -lart’ to take a look on the files and directory in general.
- Close already running applications
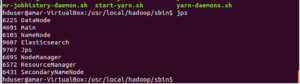
- Start hadoop
- /home/hduser/start_hadoop.sh
- Confirm that service is running successfully or not
- run ‘jps’ – you should see something similar to following –
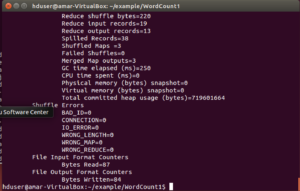
- Run wordcount program by using following command –
- /home/hduser/run_helloword.sh
- At the end you should see something similar –
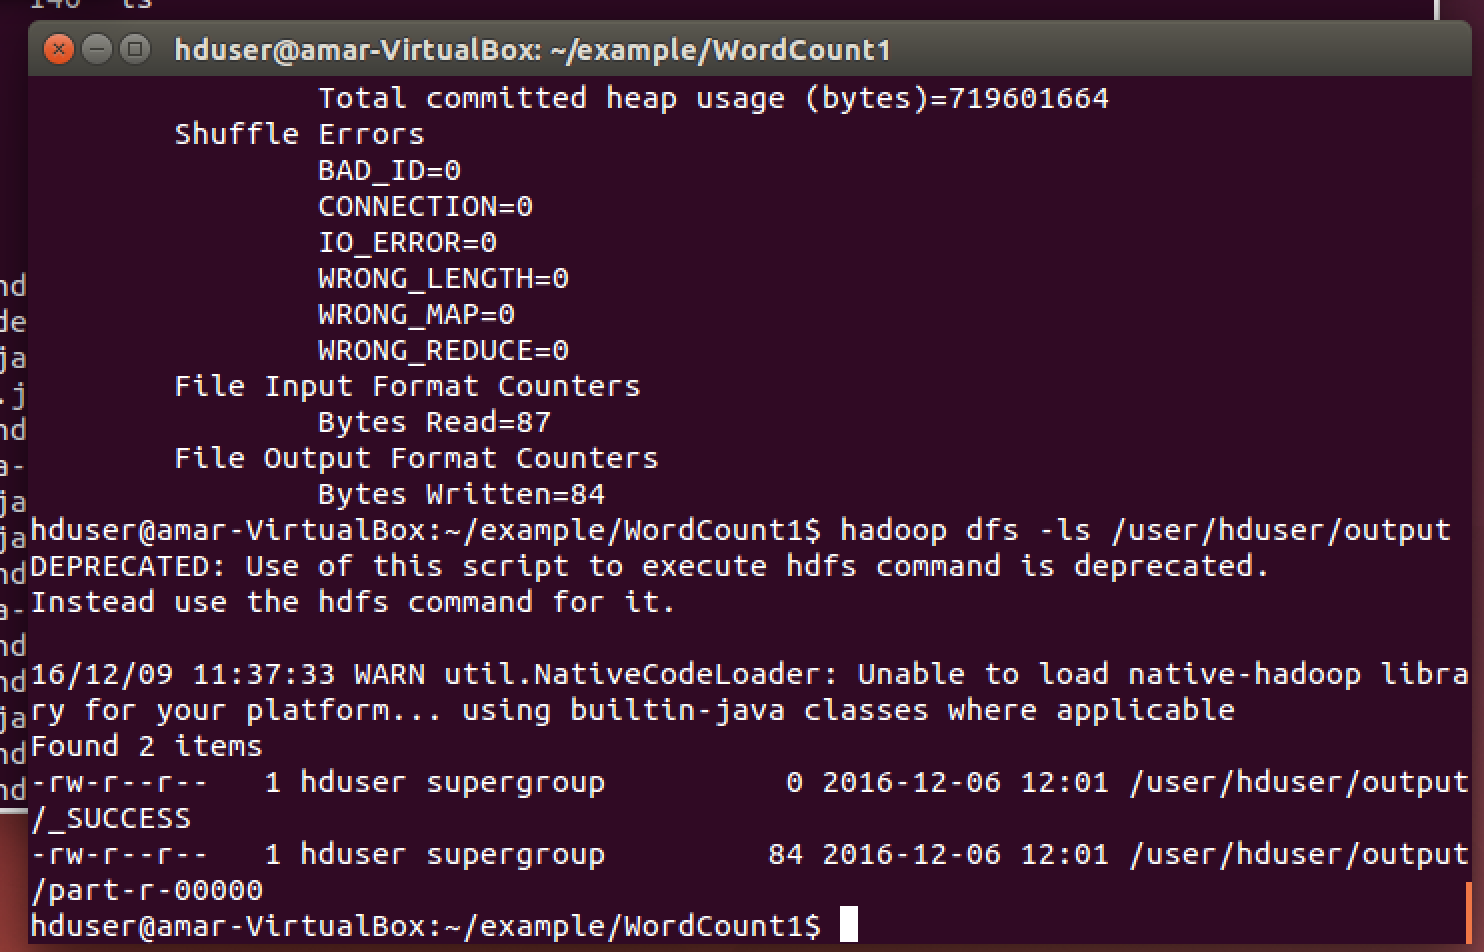
- Check if the output files have been generated
- hadoop dfs -ls /user/hduser/output – you should see something similar to below screenshot
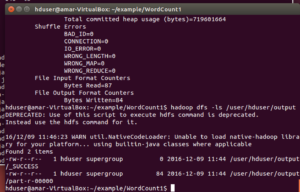
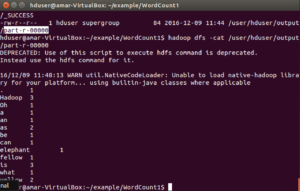
- Get the contents of the output files ( similar to following ) –
- hadoop dfs -cat /user/hduser/output/part-r-00000
- Finally shutdown the hadoop services
- /home/hduser/stop_hadoop.sh
Elasticsearch Installation
- Close already running applications
- Start Elasticsearch –
- /home/hduser/start_elasticsearch.sh
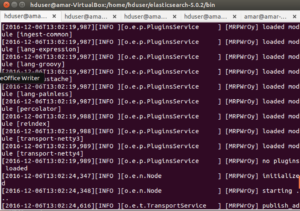
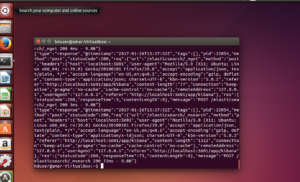
- tail /home/hduser/elastic123.log
- You should see some messages ( it should not have any ERROR ) in the last you may something similar –
- Verify Elasticsearch instance
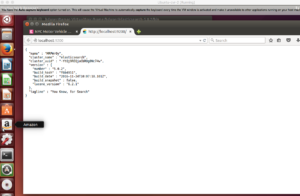
- Open browser ( firefox )
- goto http://localhost:9200
- You should see following output
- Start Kibana –
- /home/hduser/start_kibana.sh
- tail /home/hduser/kibana123.log
- You should see some messages ( it should not have any ERROR ) in the last you may something similar –
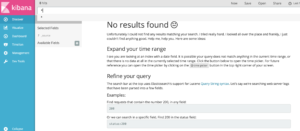
- Verify Kibana instance
- Open browser ( firefox )
- goto http://localhost:5601/app/kibana#
- You should see similar output
- Shutdown Elasticsearch and Kibana
- /home/hduser/stop_elasticsearch.sh
- /home/hduser/stop_kibana.sh
ActiveMQ Installation
- Close already running applications
- Start ActiveMQ
- /home/hduser/start_activemq.sh
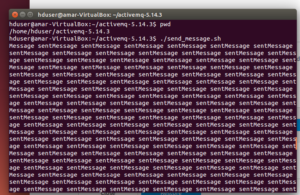
- Run validation test – send messages
- cd /home/hduser/activemq-5.14.3
- /home/hduser/activemq-5.14.3/send_message.sh
- See following output on the screen
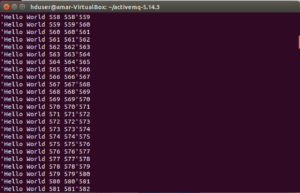
- Continue – receive messages
- cd /home/hduser/activemq-5.14.3
- /home/hduser/activemq-5.14.3/receive_message.sh
- See following output on the screen
- Stop ActiveMQ
- /home/hduser/stop_activemq.sh